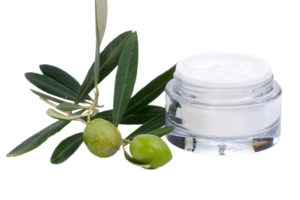
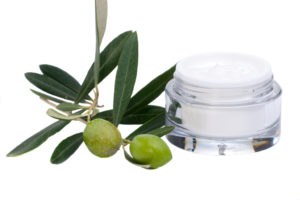
All Aya products use Olive Oil and we covered the goodness of Olive in our Ingredient Spotlight recently. Here’s a night cream that uses Olive Oil, for those looking to incorporate Olive Oil in your skincare routine.
Olive Oil is one of the best ingredients for the skin, especially when you are looking for healing, rejuvenation and regeneration. That’s why we are going to use it in our night cream along with other ingredients.
I wanted to keep the recipe real simple and easy. The ingredients aren’t many and the process is quite simple. Let’s get started, shall we?
Ingredients
Olive Oil – 4 Tbsp.
Vitamin E Oil – 1 Tsp.
Jojoba Oil – 1 Tbsp.
Coconut Oil – 2 Tbsp.
Beeswax – ½ Tsp.
Instructions
Melt the beeswax along with Coconut Oil in your double boiler.
When it begins to melt, add the Olive Oil, Vitamin E Oil and Jojoba Oil.
Mix to combine and remove from heat.
You can transfer it to a sterilized glass jar after this and let it cool down. This way, the cream will be a bit more like balm consistency and fairly dense – you can warm it up between your fingers and then apply.
Alternatively, you can do this additional step. Wait till the mixture cools down – you can refrigerate to make this faster.
After the mixture cools down, add it to your blender or use your hand blender to whip it up.
When the mixture turns nice and fluffy, transfer to a sterilized jar.
Done!
Shelf Life
You don’t have to refrigerate this cream and it holds good for 2 or 3 months.
How to Use the Cream?
Apply this to your skin every night, right after cleansing.
Take a small dollop and apply to your face and neck using circular, upward strokes.
Massage for a minute or two.
Let the cream do its work while you rest ☺
Why These Ingredients?
The ingredients moisturize, nourish and heal your skin. It protects your skin, but also repairs and rejuvenates it. Your skin will be healthy, soft and supple, needless to say, younger looking longer!
Tips to Tweak the Recipe
You don’t have to whip the recipe – like I told you earlier, it is an optional step. I like to do that because the cream feels lighter and fluffier – easier to apply and less is more when whipped 😉
You can swap the ingredients listed above if you are allergic to the ingredients or prefer equivalents.
You can also add a few drops of healing essential oils like Lavender, Chamomile, etc.
I have kept the recipe oil, wax and butter based. However, you can add hydrosols or even Aloe Gel and emulsify.
The fun part in DIY is the tweaking and trying out different stuff – so enjoy DIY and play around with the recipe. Feed us back with your successful tweaks and how you liked the recipe.
Don’t have time for DIY Recipes? Try Aya Naturals for your face and skin care – the products are organic, all-natural and prepared following a traditional recipe. There’s a product for everyone and every requirement with them. So check out and let us know how you like them.

