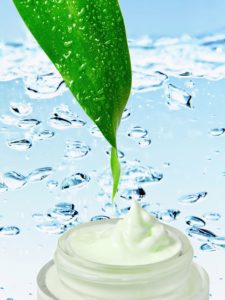
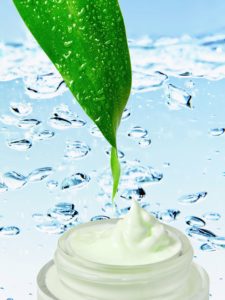
We’ve seen about Shea Butter again this week, so it needs no introduction. But, we’re looking to use Shea Butter and prepare a facial cream today.
I wanted something to hydrate and nourish my skin, without triggering my acne outbreaks, curbing acne outbreaks and also reduce the scars and blemishes left by acne or sun. I also wanted something that will rejuvenate my skin and keep it bright and soft. We’re going to take a look at the ingredients, preparation and then move on to other topics.
Ingredients
Shea Butter – ¼ Cup
Tea Tree Oil – 7 Drops
Sweet Almond Oil – 2 Tbsp.
Roman Chamomile Essential Oil – 7 Drops
Jojoba Oil – 2 Tbsp.
Myrrh Essential Oil – 7 Drops
Instructions
In your double boiler, melt the Shea Butter.
When it begins to melt, add in the oils (Jojoba & Sweet Almond Oils) slowly.
Stir to combine.
When fully melted, remove from heat.
When it cools down, you can add in the essential oils and stir to combine.
Now, refrigerate the mixture to make the cooling down process faster – they mixture should be translucent – opaque but not fully solid.
Remove it from the refrigerator at this stage and add it to your blender.
Whip on medium-high till the mixture is fluffy.
Voila!
Transfer to a sterilized jar.
Tips to Tweak the Recipe
You can also add Vitamin E Oil to this cream – it is one of the best skin foods out there, good for your skin, natural preservative and anti-ageing.
You can substitute Jojoba and Sweet Almond Oils with carrier oils of your choice, or the ones that suit your skin type – Olive Oil, Apricot Oil, Avocado Oil, Evening Primrose Oil, Wheatgerm Oil, Walnut Oil, Hazelnut Oil, etc.
The essential oils are picked according to the recipe requirement and my preference – feel fee to change them to suit your taste and requirement.
Points to Remember
Don’t heat the Shea Butter more than what’s needed for melting – heating it too much will eliminate the goodness in Shea Butter.
You can pick and choose your carrier oils, but make sure you work the ratio to suit your needs.
Shelf Life
This holds good for a month or more – all the ingredients are oils even without preservative – you should be good for a few months. But fresh is always better, so aim to prepare a new batch every month.
How to Use the Cream?
Apply once in the morning and once at night, right after cleansing. Massage for a minute or two for better penetration and absorption.
You can swap the ingredients in this recipe and come up with a version that’s personalized for your needs – the whole point of DIY is taking charge of what we use and keeping it natural and affordable, right? So, play around with the ingredients and keep us posted with your tweaks and results. As always, we welcome you to write to us. You have questions, comments or suggestions, write away! Have you tried Aya for your skin and face care requirements? Do let us know how you liked them and stay tuned for more DIY Recipes and Tips.

